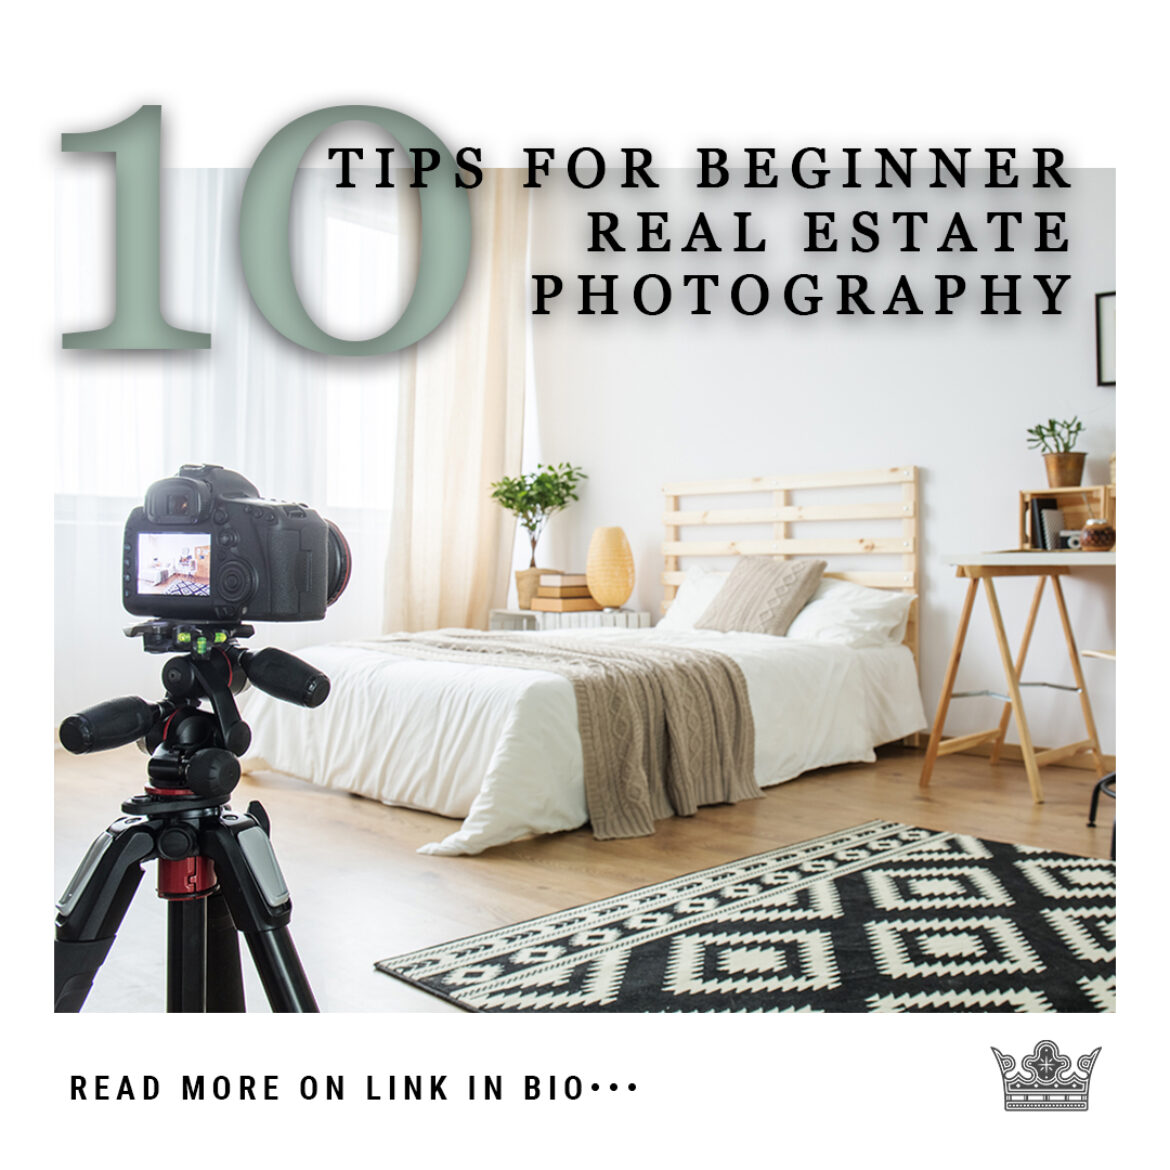
With houses going on and off the market daily, real estate photography is always in demand. And every agent is battling for the homebuyers’ attention with the best real estate photos.
Shooting professional photography for real estate can seem a little tricky at first.
But with these simple real estate photography tips, you’ll produce beautiful, consistent photos. These will have your local real estate industry agents calling you back!
1. What Is Real Estate Photography
For some of you, hearing about real estate photography might be surprising. Why would people take photos of houses?
But the truth is, there’s a lot of demand for photography in real estate. Especially now that more people are buying and selling houses. This specialized genre may seem simple, but it does require some skill to take photos of homes.
Is real estate photography profitable? Since it’s a niche discipline, it’s never going to be as popular as landscape or portrait photography. But this also means you have better chances of getting more clients and earning more than most photography businesses.
So how much does a real estate photographer make? Like any other type of photography, it all depends on a few variables.
For real estate photography, the location and the size of the house play a significant part in determining the price. Of course, your experience also comes into play. If you’re still starting, it will make sense to charge a bit less than your more seasoned competitors.
On average, most real estate photographers charge about $200 or less for properties less than 3,000 square feet. For larger houses, they could charge between $250 to $500.
If your area is a prime spot for real estate, then this could be the perfect photography career for you!
2. Real Estate Photography Equipment You’ll Need
Real estate photography doesn’t require a lot of equipment. Let’s go through the list below to see the tools you already have and what you need to acquire.
Camera
For real estate photography, you’ll need to have a camera that can shoot manually. Any crop or full-sensor DSLR or mirrorless camera would be perfect for the job.
Lens
A wide-angle lens would help you capture tight spaces. Its unique optics also tend to make rooms look more spacious. The best options you have are the NIKKOR 16-35mm for Nikon and EF 17-40mm f/4L for Canon.
If you have the budget, consider getting a tilt-shift lens to improve your photography. This option is perfect for real estate photography because it eliminates the distortion that a wide-angle lens causes. It tends to be more expensive than their regular counterparts. But you can always buy one used for cheaper. The best ones in the market include the Rokinon TSL24M-N 24mm, Canon TS-E 17mm f/4L, and Nikon PC-E FX Nikkor 24mm f/3.5 ED.
Tripod
A tripod is useful when you need to shoot long exposures. It stabilizes your camera and ensures you don’t end up with motion blur. It also helps you retain the perspective in your shots. If you set it up at the height of five feet, then all your images will be the same height. Remember that consistency is a priority, especially when it comes to real estate photography.
Remote Trigger
If you’re shooting with low shutter speeds, then it would be best not to touch the camera at all. Even pressing the shutter to take a photo can introduce unnecessary camera shake. So I suggest using a remote trigger for touch-free operation.
Flash
Strobes or flashes are among the most essential but often overlooked tools in real estate photography. They are invaluable, especially when taking photos in places that have low lighting. There are two main types of flashes: Monolights and flashguns. You can start with flashguns because they’re cheap. But as you photograph more spacious properties, monolights would be the best option since they have a brighter light output. There are tons of choices out there from budget Godox TT600 to the top of the line Broncolor Siros 800 S.
Flash Trigger
When using an off-camera flash for your photography, you’ll need a flash trigger. You attach the transmitter to the hot shoe of your camera and the receivers to the flash units. It’s worth noting that some strobes already have built-in receivers. Once you finish connecting all of them, just press the shutter, and the flash should fire off at the same time.
Light Modifiers
Bare flash often creates unappealing results when it comes to real estate photography. In most cases, all you have to do is point them toward the ceiling to soften the light they produce. But what if the roof is too high or if you’re not getting enough bounce light? Then consider using light modifiers. In most cases, shooting umbrellas are enough to do the job. They’re small, lightweight, and portable. Not to mention they don’t get in the way, especially when photographing in small spaces.
Light Stands
Of course, you’ll also need light stands to support your flash units. A regular light stand would often work for lightweight flash heads. But more rigid C-Stands may be necessary for the bigger monolights. Depending on the location you’re shooting, you may need one to four of these to light up an area.
To start with real estate photography, all you need is a camera, a lens, and a tripod. All the other items we mentioned would help you get better results and finish at a faster pace. But you don’t have to acquire all these tools at once.
3. What to Do Before the Real Estate Shoot
Have a Standard Shot List for Each Property
While no two homes are identical, there are typical shots that every real estate photographer will want.
Knowing what to cover is an essential tip in learning how to shoot real estate photography.
2 wide-angle shots of each bedroom, the kitchen, and the living room.
1 photo of the bathroom, unless it’s incredibly beautiful or spacious.
1-3 photos of the backyard unless it has some unique features. And then 1-2 shots of the front of the home to show off the ‘curb appeal.’
1 shot of each feature such as laundry room, garage, and pantry.
This list will help make sure you have a point of reference to hit all your must-have real estate shots.
You can also give your list to the real estate agent. They’ll then know what they can expect from your shoot.
4. What to Do at the Property
Declutter
Decluttering is one of the most important real estate photography tips. You need to befriend the real estate agent that is in touch with the homeowners.
In our own homes, we get used to bits of clutter building up over time. But all those small items that we don’t notice will stand out in a photo.
Make sure that homeowners keep the surfaces as clean as possible—countertops, coffee tables, desks, etc.
If you want some decorative items, leave 1-3 items.
In shooting interiors, don’t photograph closets unless they’re spacious or customised.
At most times, a closet is a perfect spot to stash those small items until the photoshoot ends.
Sometimes you’ll arrive at the home, and there’s still clutter that you know they will not look appealing in the photos. There’s nothing wrong with suggesting to hide a few extra things.
5. What to Keep in Mind During the Shoot
Use Flash and Bounce to Diffuse
Agents and homeowners are usually in a rush to put the listing online for potential buyers. And budgets don’t allow for many photography hours for one listing.
Using a flash unit attached to your camera is one way to help keep you moving from space to another faster.
When using a flash on your camera, though, be sure to bounce the light off walls to soften it.
If we point the camera flash directly into the room’s space, we get a dreaded bright area in the centre. And then a quick drop to shadow around it. Also known as vignetting, it’s not desirable for real estate photography.
Turn the flash so that it bounces off a wall behind you, the ceiling right above you, or even one of the side walls. This way you’re allowing that light to diffuse into the space and give a more even look.
Of course, these positions won’t be possible with the pop-up flash on your camera. So I suggest buying a flashgun that features a flash head you can move in many angles.
I also recommend using your flash on manual mode. Doing so gives you full control of its strength.
I use 1/16th power as a starting point and adjust from there. If you’re shooting towards bright windows, you may want to go as high as full power.
For larger spaces, install your flash units on your light stands. Position them out of the frame and angle them upwards toward the ceiling.
Ultimately, the position of your lights depends on the size and shape of the room. In most cases, you can place your strobes on the corners, or even behind you. But if those areas don’t work, you may have to try other spaces until you get even illumination in the room.
Source: ExpertPhotography.com


